I suppose I'll jump back into things with an update on my interior situation. I realize that every time I make an update to this blog I talk about how late and overdue the post is, so from now on please just know this is the case. I have been working on quite a lot recently, including the design and construction of some things to make the boat more comfortable and livable. Progress!
First, I have to say that going with the Webasto Air Top EVO 5500 heating system was about the best investment I have made so far, especially with this frigid winter. Since I installed it I have had plenty of heat at the ready with no humidity problems, great fuel consumption, and no hassle. It has more than paid for itself already as far as I'm concerned. It can take the boat from being in the low 50s to the mid 60s in about 10 minutes. Awesome! I can't wait to have the rest of the saloon built so that the vents in there can be flush mounted into the furniture. Here are some more pics of the installation.
 |
| Here is the heater on the mounting bracket before wiring, fuel, and duct installation |
 |
| Another shot of the same |
 |
| Getting the combustion exhaust ready for installation |
 |
| Insulating jacket for combustion exhaust added |
 |
| Instead of spending almost $200 on a remote temperature sender I built one with a thermistor that I purchased for <$5 with shipping. It works great. |
 |
| Thermistor external temperature sensor installed in control panel |
In addition to staying warm I have also been working on expanding my saloon furniture. I have built out the single couch/bench/bunk to more of a wraparound couch with built in boat-office features like a printer drawer and filing cabinet drawer. I also kept with the angled base to allow your feet to fit comfortably without kicking the outside of the couch itself. Everything ended up fitting in nicely, but it will need some trim to cover a few small gaps due to the unique angles required for the installation. That will come later this spring...
 |
| Here is the former aft end of the couch. There was a built in "book locker" in this space, but I thought a place to sit would be a bit more useful. |
 |
| Removing the paneling to install the additional bench |
 |
| Poplar support cleat for aft end of bench |
 |
| Some fancy 3/4" oak plywood from Home Depot... It isn't marine grade, but it will do for interior use. |
 |
| You can see the taper of the base taking shape |
 |
| An idea of what the final product will look like |
 |
| My friends Kent and Kyle were kind enough to let me make some cuts in their wood shop. Thanks guys! |
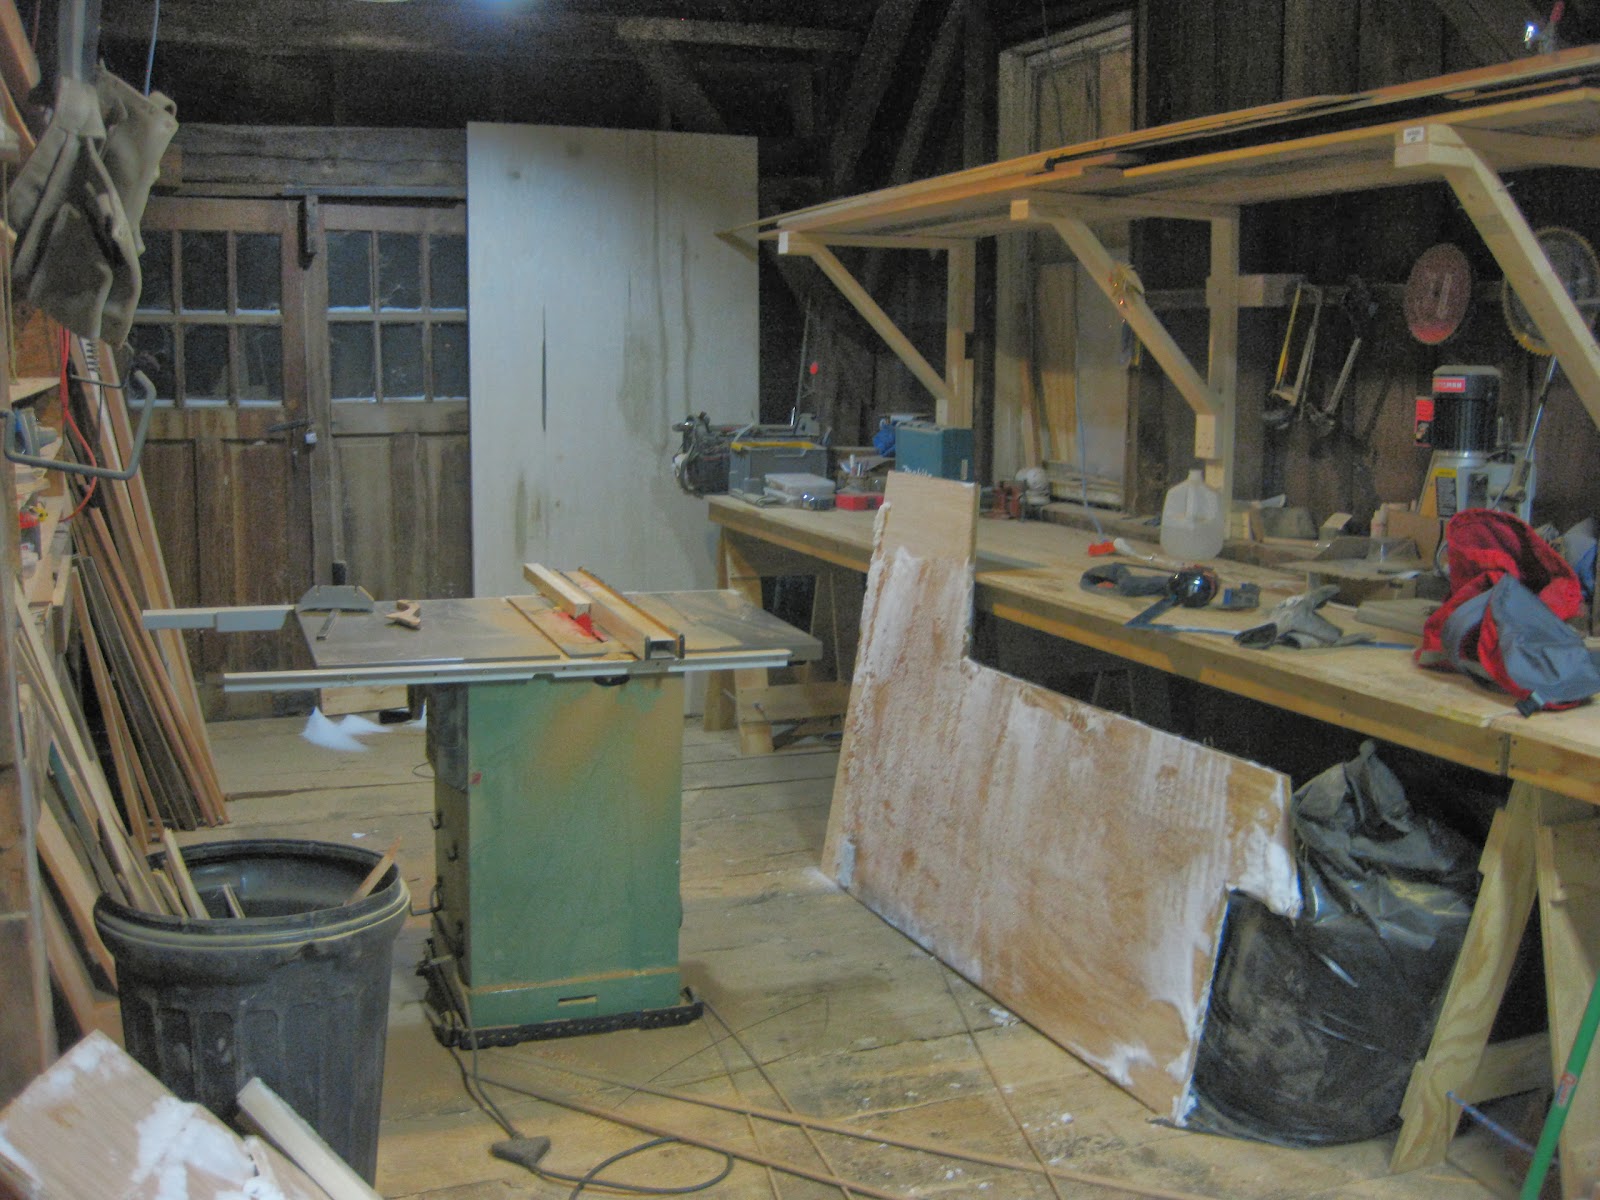 |
| You can see here that my plan to get all of my cuts made so I could fit the wood inside before the snowstorm was a little off-target |
 |
| Better late than never? |
 |
| Adjusting the support cleats to match the angle of the bases |
 |
| In the end I had gone a little overboard with the angled cuts. I'm still trying to find places to use the leftover angled cleat stock. |
 |
| Ready for assembly! |
 |
| Closer |
 |
| You can see the nice counter-sunk screws here |
 |
| BOOM! |
 |
| Here you can see the printer drawer/shelf I built. Not sure if I'm going to hinge the top in addition to the drawer yet, but I'm leaning towards yes. |
 |
| Gorgeous! |
 |
| Here is the printer feeling at home |
 |
| I need to get some more lumber to make drawer fronts (and build a lower drawer) |
 |
| Here the forward part of the bench is taking form. It is a bit shorter due to the taper of the hull. |
 |
| Some more cleat work |
 |
| Some creativity to deal with the angle |
 |
| More creativity... |
 |
| Pen storage? |
 |
| There will be a filing cabinet drawer here which will hide the angled cut. |
I'll post some more pictures of the more completed arrangement soon. I also built a mockup of the mast and put it where the final mast placement should wind up so that I can get used to working around a giant mast in the middle of my living room. It makes a huge difference. Thanks Tim for the suggestion!
The next major interior design project will hopefully be to install 1-2 recliners, seriously. I have been in touch with the manufacturers of the reclining mechanisms that get put into Lay-Z Boys and other reclining furniture and it seems feasible to fit at least one. The plan is to build the metal reclining mechanism into a large box on the port side of the saloon. It's hard to describe at this point, but I should have some drawings or pictures that will tell the story soon. Here's an idea of what the mechanism looks like at least. This is designed to recline in close proximity to a wall. To accomplish this the whole base moves forward instead of out in both directions. If it fits it will be pretty sleek. What I'm considering are the Omega 4106 Zerowall (www.omega-motion.com), the HSM 5188 - Zerowall - Manual, or the HSM 5114 - Theater Seating - Manual (http://www.hickorysprings.com/).
 |
| Omega 4106 Zerowall |
Any advice or suggestions are more than welcome.
Looking good! Will I be able to sleep on it?
ReplyDeleteAbsolutely. When I'm done you should be able to sleep on it with your date.
ReplyDeleteBrenden: Make sure y ou spend some of the money you saved on the temp sensor on a top quality carbon monoxide detector
ReplyDeleteTom Fulweiler
Thanks Tom! That was one of the first things I did before going to sleep with the heater on. It is 0 degrees outside right now, and about 68 in the boat. Best investment ever.
ReplyDelete