Wednesday, September 25, 2013

So many updates, so much progress, so little time!

Well it seems that I am having difficulty making more than one post per month despite my best intentions.  It truly is because I have been logging several hours of work on 'ol Creeky daily and just haven't had a chance to write about it.  Long story short, it's almost boat ride time.  With a little luck I'll be doing some cruising in Boston Harbor next week (after I get back from Serbia)!

I am also working on creating individual pages for each project now that they are growing in number and scope.  Links to each of them will be contained here:

Projects

There is also a link to this page in the sidebar to the right.

I have made so much headway in the past several weeks that I don't know where to start explaining.  For now, here's a little montage in pictures (in no particular order because I don't have time to organize them right now).  Check out the projects page over the next few weeks to make some more sense of them.  Play "Eye of the Tiger" when looking through them.


Risin' up, back on the street

Various components in Webasto Air Top Evo 5500 DIY kit from Defender

Did my time, took my chances

Webasto Air Top Evo 5500 diesel heater unit

Went the distance now I'm back on my feet

Exhaust elbow and riser after sealing threads, painting, and wrapping with heat tape

Just a man and his will to survive


Sweet cover I built for exhaust elbow and riser

So many times it happens too fast

Hole in deck originally created for installing bulkhead heater chimney

You trade your passion for glory

What the bulkhead heater chimney hole looked like

Don't lose your grip on the dreams of the past

I bored out the holes to expose some fresh wood core

You must fight just to keep them alive

After drilling out the bolt holes, dremeling out the chimney hole, and grinding down the surface to bare fiberglass

It's the eye of the tiger, it's the thrill of the fight

After wiping with acetone I used a lightly thickened epoxy to seal bolt holes and chimney hole.  The mixture was thin enough to allow it to be soaked up by the wood core.

Risin' up to the challenge of our rival

The holes were then filled by a very thick epoxy and colloidal silica mixture to fill the voids and then covered with a few layers of woven roving.  That should be enough to keep the moisture out and permanently fill the holes.  I'll go back and make everything pretty at a later date. 

And the last known survivor stalks his prey in the night

There is no way to describe how absolutely covered in fiberglass dust and epoxy I am in this picture

And he's watchin' us all with the eye of the tiger


Staging for the diesel tank installation

Face to face, out in the heat

More staging

Hangin' tough, stayin' hungry

Even more staging...

They stack the odds, still we take to the street

The compartment the diesel tank went into prior to grinding and fiberglassing.  I sealed it off from the rest of the boat with vinyl dropcloth material.

For the kill with the skill to survive


The main hatch to the diesel tank compartment were completely sealed off from the rest of the boat.

It's the eye of the tiger, it's the thrill of the fight

The work space

Risin' up to the challenge of our rival

Staging...

And the last known survivor stalks his prey in the night

The "out" fan

And he's watchin' us all with the eye of the tiger


The "in" fan

Risin' up, straight to the top

The work space again

Had the guts, got the glory

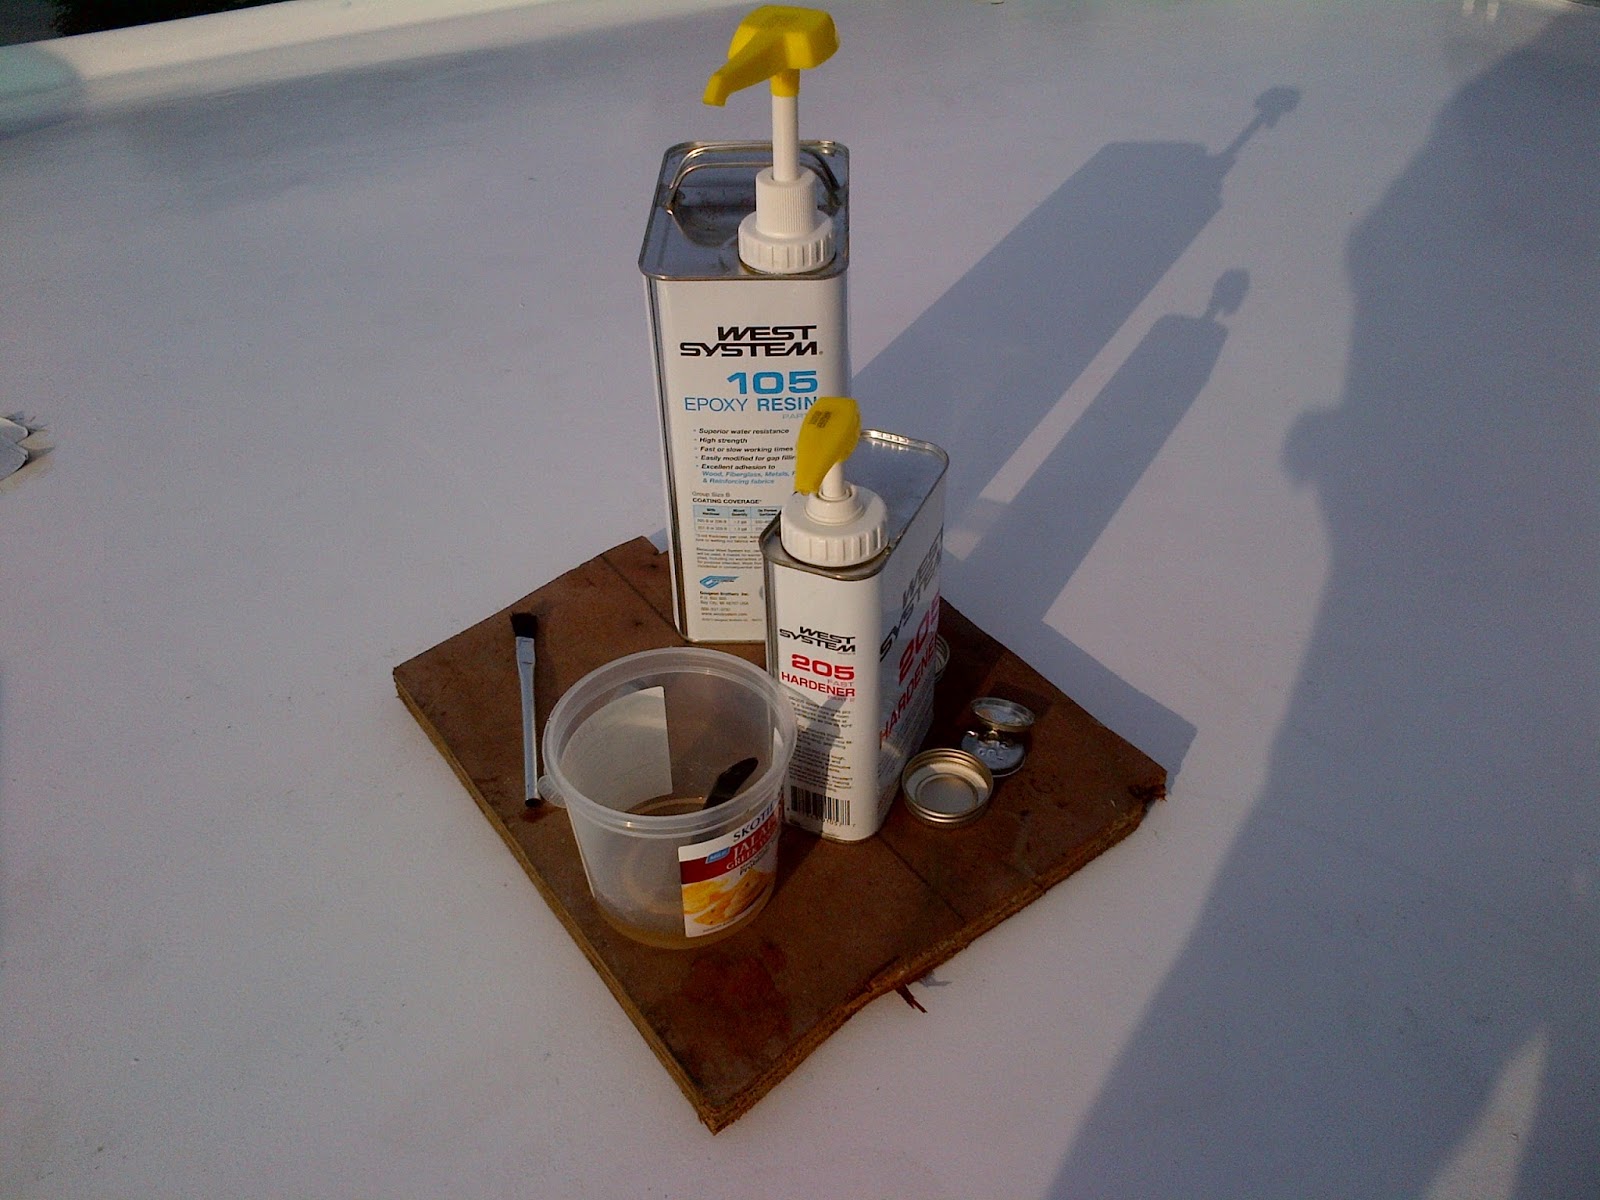
Epoxy 

Went the distance now I'm not gonna stop

These plastic booties worked great for about 5 minutes, then my feet just got coated with epoxy

Just a man and his will to survive


It was a good idea...

It's the eye of the tiger, it's the thrill of the fight

The supports for the diesel tank

Risin' up to the challenge of our rival

The fully installed diesel fill deck plate

And the last known survivor stalks his prey in the night

Diesel filter mount construction

And he's watchin' us all with the eye of the tiger


Mounted diesel filter

The eye of the tiger

Test fit of tank on supports

The eye of the tiger

Rubber vibration dampening/chafing protection

The eye of the tiger


Start of "glove box"

The eye of the tiger 


I guess at this point it's probably a good idea to start listening to "You're the Best" from the Karate Kid as you scroll through the rest of these, since you're already pumped up.


Try to be best

Viewing window for "glove box"

‘Cause you’re only a man
"Glove Box" in action.  Not too comfortable, but effective at keeping dust from getting EVERYWHERE from some additional grinding that was needed

And a man's gotta learn to take it

Another shot of the "glove box"

Try to believe

Modifying straps for tank hold down

Though the going gets rough


Old V-Drive plate

That you gotta hang tough to make it


Spare prop shaft coupling?

History repeats itself


Fore deck patio covering bulkhead heater chimney hole

Try and you’ll succeed


Improvised temporary cover for chimney hole with epoxy coated plywood and butyl tape

Never doubt that you’re the one

Modified strap

And you can have your dreams!


Now slow down the scrolling a little bit as the montage wraps up, but stay PUMPED cause there's an inspiring guitar solo around the corner!


You’re the best!
Around!
Nothing’s gonna ever keep you down

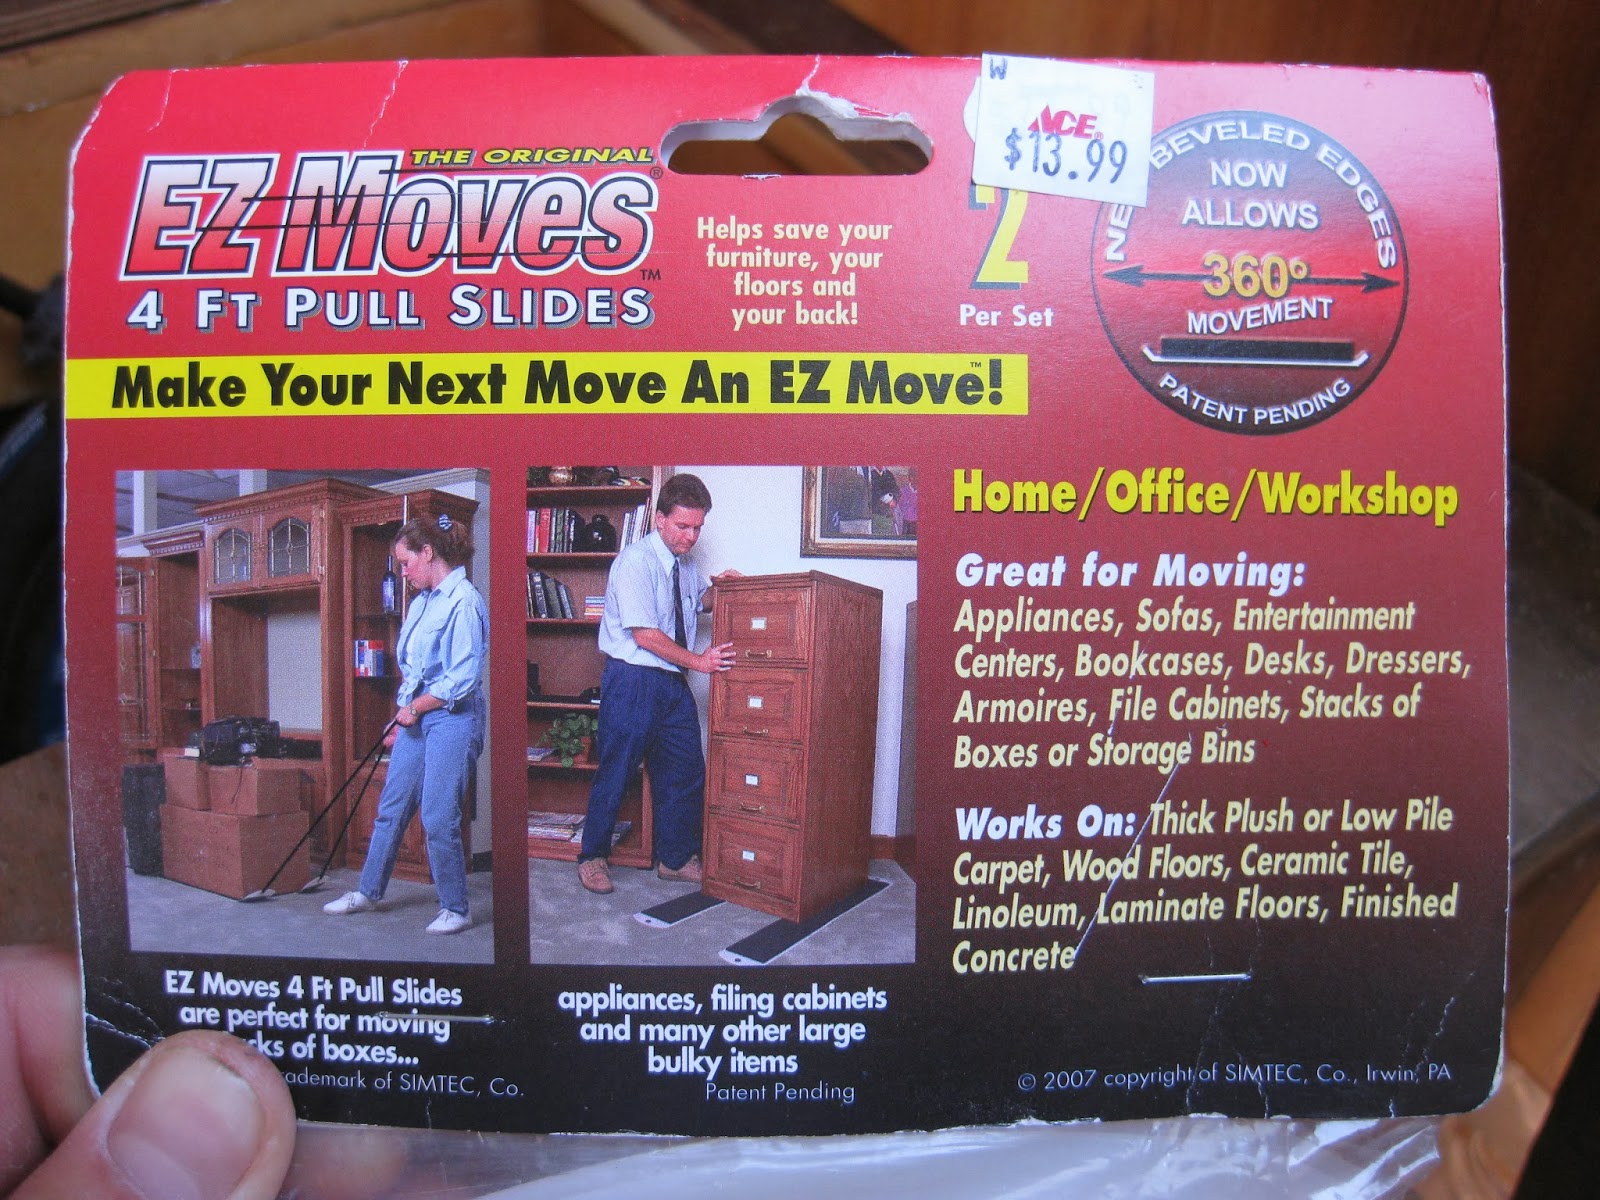
These were on clearance at my local hardware store and a perfect fit for diesel tank anti-chafing

You’re the Best!
Around!
Nothing’s gonna ever keep you down


This is what is under the diesel tank

You’re the Best!
Around!
Nothing’s gonna ever keep you dow-ow-ow-ow-own 


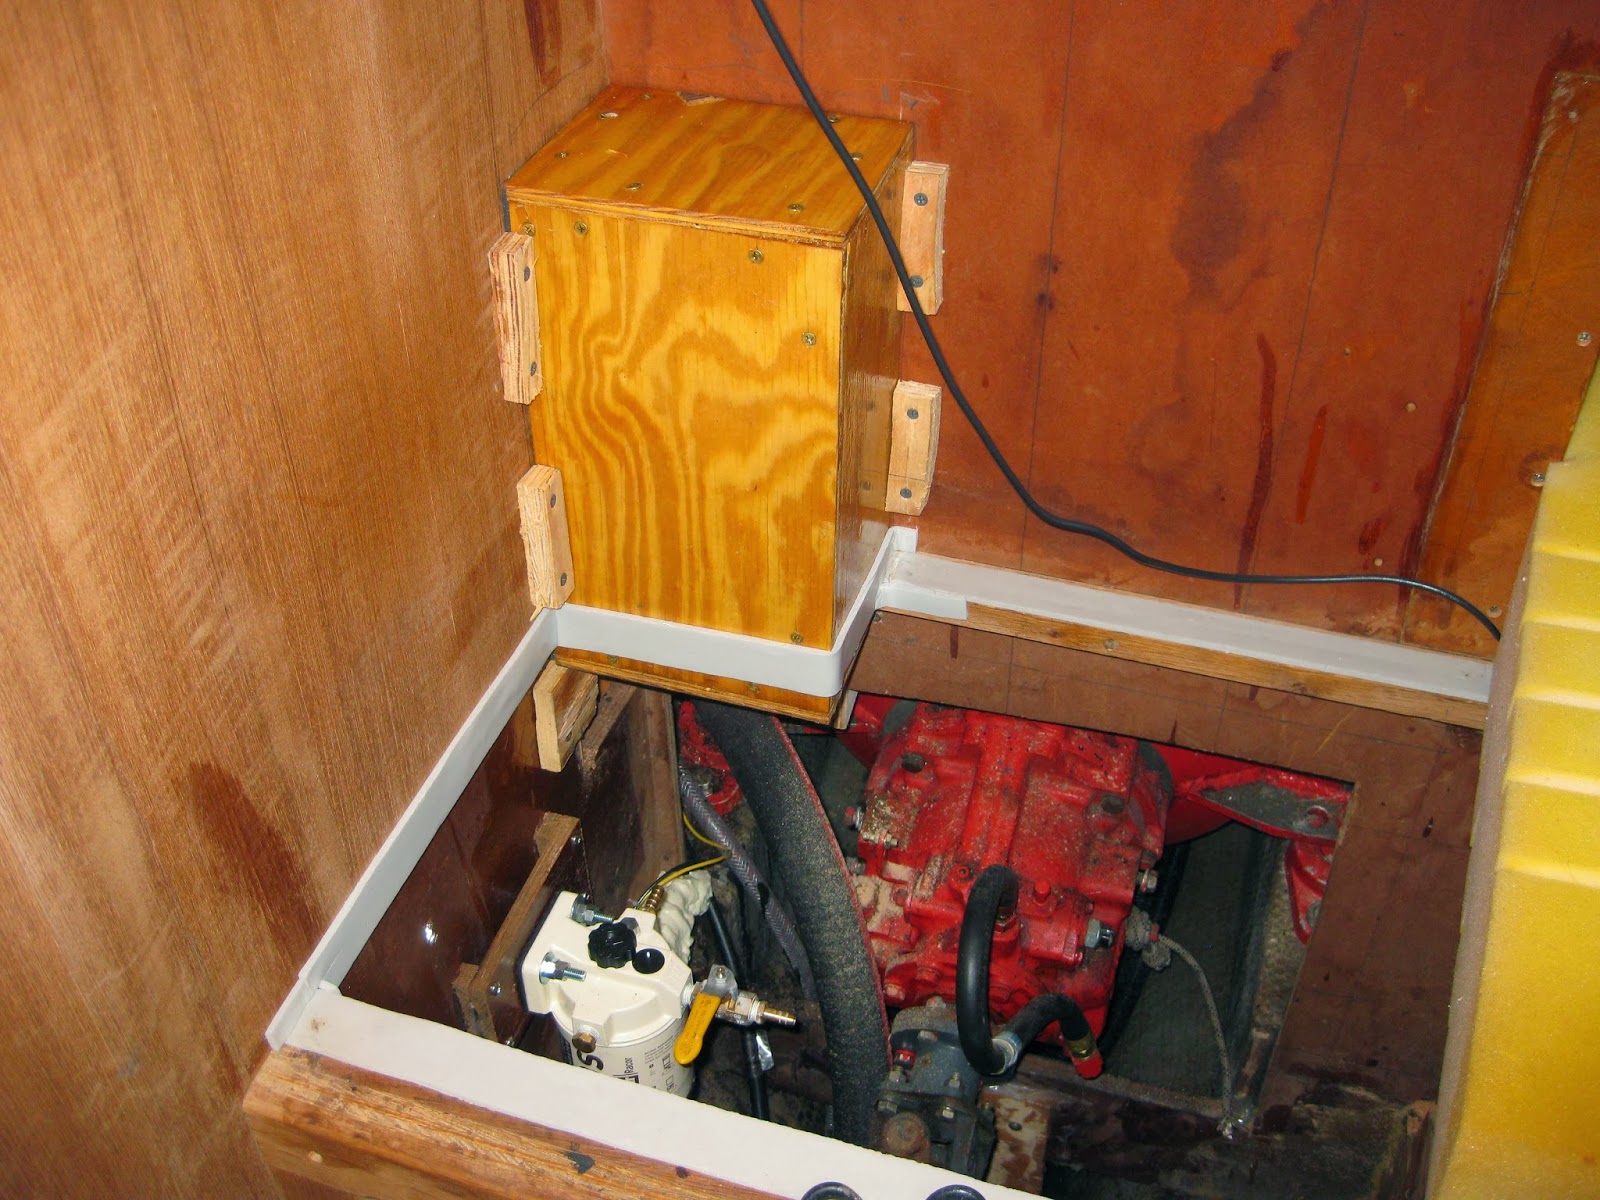
Diesel tank installed!

Fight ‘til the end
Cause your life will depend
On the strength that you have inside you

Diesel tank hoses

Ah you gotta be proud
starin’ out in the cloud
When the odds in the game defy you


Steering conduit hole

Try your best to win them all
and one day time will tell
when you’re the one that’s standing there
you’ll reach the final bell!


Mahogany steering box in progress

You’re the best!
Around!
Nothing’s gonna ever keep you down


Mahogany steering box upside down

You’re the Best!
Around!
Nothing’s gonna ever keep you down


Adding some long lag bolts for extra sturdiness

You’re the Best!
Around!
Nothing’s gonna ever keep you dow-ow-ow-ho-how-ho-own


Incredibly sweaty and covered in epoxy and fiberglass dust again

INSPIRING GUITAR SOLO

Additional steering support blocks in place

You’re the best!
Around!
Nothing’s gonna ever keep you down


Getting ready to install steering support frame

You’re the Best!
Around!
Nothing’s gonna ever keep you down


Clamping steering support frame into place

You’re the Best!
Around!
Nothing’s gonna ever keep you dow-ow-ow-ow-own


Shimming the crap out of either side of the frame for additional clamping power

Fight ‘til you drop
never stop
can’t give up


A nice thickened epoxy and colloidal silica filler below steering support frame

Til you reach the top (FIGHT!)
you’re the best in town (FIGHT!)

Clamping bottom of steering support frame into place

Listen to that sound
A little bit of all you got
Can never bring you down

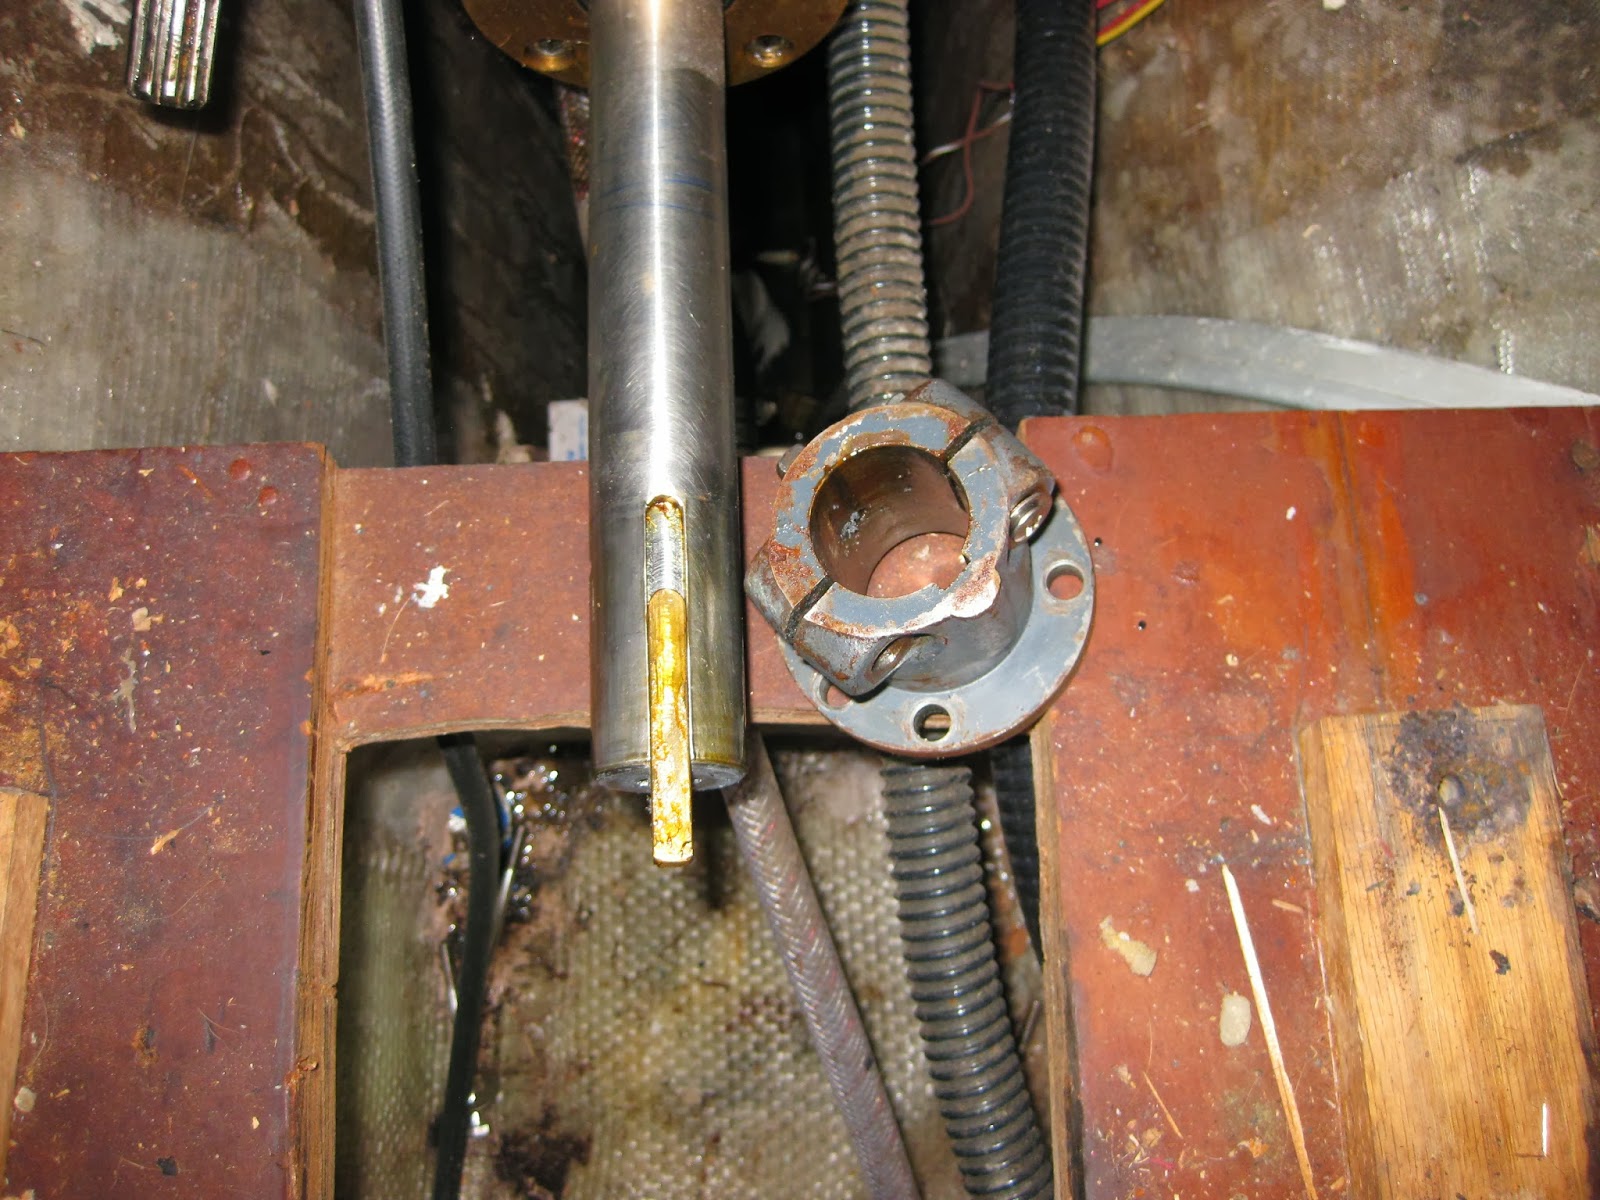
Propshaft with old #25 coupling

You’re the best!
Around!
Nothing’s gonna ever keep you down

Propshaft

You’re the Best!
Around!

Old Water RV-20 V-Drive removed

Fade out...

Tuesday, August 20, 2013

Slow and steady wins the race

Another several weeks have flown by without an update on 'ol Creeky, but that's not because I haven't been making progress.  I've just been cranking away at things little by little as time has allowed.  Every night when I get home from work I try to make some headway on a major project and do some reorganizing.  So far so good.  I've also been doing lot's of reading in between and even more list making.  

The most frustrating part of this whole endeavor has got to be the sheer number of competing priorities at a given moment.  There are two seemingly endless lists of projects: 1) those focused around the mechanical function of the boat, and 2) those regarding the livability of Creeky as a home.  It is so easy to get overwhelmed by all of the potentially urgent projects.  I think I'm getting better at zeroing in on them as time goes by though.

Here are some highlights:  

1) In between other epoxy-based projects I managed to crank out a new engine control mount for the steering pedestal.  The first one I made didn't take into account how far below the control lever the throttle and shifter cables need to go, but this one should do the trick.
New engine control mount setting up
New engine control mount cured

2) Made a box to cover the cutout in the state room bulkhead for the exhaust elbow.  This should help to cut down on the lingering bilge smell that creeps in on hot days.
Exhaust elbow cover
Exhaust elbow cover 2

3) Put weather stripping down under the cabin sole panels.  Similar to #2, this has helped with bilge-stink lingering.  No pictures.

4) Put wood stove sealer and gasket maker on exhaust elbow connections to hopefully safeguard against any CO leaks.  I also painted the elbow with high-temp exhaust paint.  The next step is to wrap the elbow with exhaust header wrap to help reduce the radiation of heat to the bulkhead.  No pictures.

5) Finally made up my mind about the steering setup below the cockpit and pulled the trigger on buying new wire rope and a $106 piece of mahogany.  I am building a frame out of 1.5"x10" mahogany that will be bonded to the hull and cockpit sole with fiberglass and epoxy.  I am still planning to use the pull-pull conduit that came with the boat, which will drop down directly below the pedestal.  It will then wrap around the underside of the cockpit sole over the rudder post and terminate into the sides of the mahogany frame.  The description and pictures below may seem confusing now, but it will all make sense when I post pictures of the finished project.

Only the quadrant will be used for the cockpit steering.  The radial wheel may be used for the setup in the salon (if I ever get around to it).  
The mahogany frame will be glassed in under the supports with the free space filled in.
Three sides of the basic setup.  There will be one more side angled to match the slope of the hull.
A look at the angle of the lower side (right).

This is the frame clamped together and setting up (upside down).  The bottom (top) board is just there to keep things square.
That's a big 'ol roll of woven roving!
Adding some more strength to the joints.


Glassing up some 3/4" oak to bring the cockpit sole down to the same level as the cross-supports.
The same thing will be done on this side with woven roving to make nice sealed panels. 
I should have added more filler so this would be more like peanut butter.  Oops.

6) In keeping with the balance of livability and mechanical function I installed my propane detection and control system.
Hose connection on back of stove
Propane "sniffer" located under stove since LPG is heavier than air
Hose running under sink area.
More under sink area.  All of this will need some tidying up and chafe protection later on.
The solenoid and regulator setup at the tank.  This will eventually go into a propane locker when I have time to build one.  Thanks for the propane tank Billy!!!
The control panel mounted above the electrical panel.
Here you can see that the "Red Danger" light is on.  I was testing the sniffer by opening the valve on my blowtorch next to it.  Next, the solenoid automatically closes off the gas supply and an alarm goes off until the sniffer no longer detects propane.  Pretty cool system.
Success!!!


7) I have to give a big thanks to Lesley for helping me do some much needed organizing, and once again to Jesse for helping me plan out some systems.  It really made a huge difference, and having less clutter has bought me at least a few more weeks of sanity.  You guys rock (as do your children).

I'm sure there are some other things that I'm leaving out, but they will have to wait until my next update.

Tuesday, July 16, 2013

Summer in the city

Well I'm finally getting back into the swing of things.  It still astounds me how quickly free time is depleted once the weather warms up.  Since my last post there have been a lot of distractions; planning a trip to Vietnam, getting 99% of the rest of my belongings out of 86 Montgomery (thanks for the patience boys!), brewing three kegs of beer for Hugh & Sarah's wedding, going to a wedding in Mexico, spending a week up in Maine, etc...  Throughout all of that my brain was planning out the next projects to tackle on Creeky once I had a morsel of free time.  When I first got back what did I return to?  A heat wave.  A huge effing heat wave that crippled all ambition.  Sustained temps in the upper 90s with what felt like 300% humidity, and no relief.

I quickly learned that the temperature being a few degrees cooler on the water does nothing for you when you can't get good circulation going.  Despite having two huge box fans blowing at full blast with all the hatches open I still couldn't cool off.  "Time to buy an air conditioner..." I mumbled to myself at 2 AM in a hallucinatory state after the third night without sleep.  No problem, I'll swing by Home Depot on my way home from work and get one of those fancy upright units.  Nothing.  Fine, I'll try Costco.  Nothing.  Target.  Still nothing.  It seems I wasn't the only one who had a delusional epiphany.  It was impossible to find an A/C unit I could buy and install on the same day for under $600 within 100 miles of Boston.  Capital eff...

Fortunately the heat wave finally broke without claiming mass casualties (that I know of), but a few days later a bigger one was forecast.  Yesterday and today the temps were already in the mid 90s, and they will be approaching 100 by the end of the week.  I'm sure east coast news stations are working around the clock in shifts to come up with some combination of the words "summer" and "apocalypse" that will earn them certain fame in the history books (or whatever they use in the future).  But I'm not worried because I managed to get exactly what I was looking for on my lunch break today; on sale, no less!  Apparently a bunch of people have hastily purchased the upright units and not liked the fact that they still have to vent them out a window.  So I picked up a returned one at Sears for 20% off with the same warranty as a brand new one.  Score!

I realize that people reading this who have air conditioned homes, or at least large windows, are probably not nearly as excited about this as I am.  All I can say is unless you have been through the same sleepless torturous nights I have, baking in the heat, you wouldn't understand.  Having temperature control is a huge win.  Now onto other major achievements.

Prior to leaving for Mexico I took a quick trip down to Hope Valley to visit Henry and Birgitta and to have the mast moved.  They had been more than patient in allowing not only Jenny and Justin (previous owners) to keep it stored in their yard, but me as well.  After a few phone calls to RI Boat Movers, Norton's Marina, and NE Yacht Rigging, I had a new home for the mast, transportation for it, and a rigging company willing to work with me and my very limited plans.  Jennilee even humored me when I said that I just needed to take a quick drive down to RI to take care of all these things a few hours before the flight, or even packing for it.  Sweet!  

They sent the actual boat hauling trailer just for the mast & boom
This is where they asked us where our crane was to lift one end of the mast over the top of the truck cab.  Oops...

Henry examining the rig before loading everything up

This is Henry insisting that he is 25, and Birgitta returning from spin class.  A truly amazing couple.
Henry and I looking at two different cameras after a job well done
Success!!!
On the road down to Warwick

The trip to RI was a whirlwind, and before we knew it, Jennilee and I were in Mexico with drinks in hand.

Airport Margaritas
Yeah Cabo!
Sometimes life isn't hard

Another significant achievement was the final installation of the waste deck plate and the pulpit, which I accomplished with the help of my dear friend Brian.  So now the deck is a bit less cluttered and Creeky is actually looking boaty.  In fact, since installing the pulpit I have had 30% fewer people asking me what the hell my boat is!  I can also finally pump other people's stinky poo out of my boat.  Double win!


Here's where it started.  The bolt holes were then drilled out to twice that diameter.

The holes were then filled with epoxy and redrilled to the bolt size.  The large hole was coated in several layers of epoxy as well.


Bad picture of the final product, which still needs to be cleaned up to get off the 3M 4000

The pulpit post installation.  It looks like a sailboat bow!

Soon after that I got down to installing the galvanic isolation system I purchased after reading about the horrors of galvanic corrosion.  Whether it's overkill or not, it will at least help me sleep better at night.

The galvanic isolator

The monitoring system to be ABYC compliant

I still need to get a display unit when I can find one on ebay

So that's the bulk of what I have been up to.  There have been a few other little projects here and there, and there are plenty in the works.  I think one of the next big ones will be to figure out exactly where I want to put the portlights that came with the boat and start cutting holes.  I am struggling with how much symmetry a sailboat needs from the outside.  I feel like it's close to 100%, but I may talk myself into thinking otherwise for the purpose of mounting the huge portlights.

Lastly, after a few dead leads on possible used V-Drives I think I am going to have to bite the bullet and buy a new one directly from Walter.  Stay tuned for more on that.